Lighting the Bones of the House: A Room-by-Room Plan for UK Renovations
Lighting is the part of a renovation that disappears. Once the plasterboard is up and the walls are painted, the cables are either where you need them or they are not. No amount of stylish lampshade shopping will fix a living room with one pendant in the wrong place and no socket for a floor lamp.
That is why the lighting plan belongs with the structural drawings, not the finishing moodboard. Before first fix, you are not choosing light fittings. You are choosing how the house will feel at 7am in January, at 7pm on a Sunday, and at 11pm when someone is reading in bed and someone else is trying to sleep.
Start with the evening, not the ceiling
Most lighting plans start with the ceiling and work down. Try the opposite. Draw your furniture layout first: sofa, chairs, dining table, desk, bed, wardrobe, mirror. Then imagine the room on a dark winter evening. Where will you sit? What will you be doing? Where will your hands be?
That exercise tells you where you need task light, where a floor lamp will stand, and where a pendant will actually be useful. A pendant in the middle of a room is a convention, not a law. In a long living room, two pendants or a run of wall lights may serve the space far better.
The three layers, in plain English
Ambient light is the general wash that lets you move around safely. It can come from pendants, ceiling fittings, downlights, cove lighting or wall washers.
Task light is for doing things: reading, cooking, shaving, putting on makeup, working at a desk. It should be close to the task and ideally adjustable.
Accent light is for atmosphere and emphasis: picture lights, wall lights, shelf lights, a lamp in a corner, a spotlight on a plant or a piece of art.
A good room usually has at least two of these layers. A kitchen or living room benefits from all three. If you only plan for ambient light, you will end up with a room that is either flat or harsh, and you will fill it with lamps later.
Dimming, colour and circuits
Put dimmers on the main lighting circuits wherever you can. Not every fitting needs to be dimmable, but the ambient layer should be. Use dimmers designed for LEDs, and check that the lamps and drivers are compatible. A flickering dimmer is not a personality trait.
For living spaces, aim for warm white light, around 2700K to 3000K. Cool white belongs in garages, utility rooms and some task areas, not in a cosy sitting room. Look for a colour rendering index of 90 or above if you care about how paint, wood and skin tones look.
Separate your circuits. You want to be able to have the kitchen island lights on without blazing every downlight in the room. A 5-amp lamp circuit is a brilliantly old-fashioned idea: it lets you switch table lamps from the door instead of crawling behind the sofa. Smart relays can add flexibility later, but keep physical switches. You will thank yourself when the Wi-Fi misbehaves.
Room by room
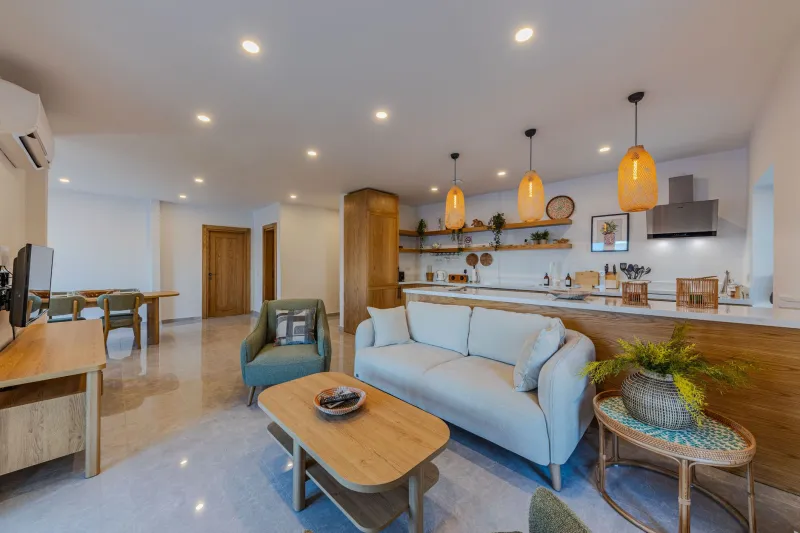
In a living room, start with the furniture. Plan a mix of overhead, wall and floor lighting. A central pendant is fine in a period property, especially if you have a ceiling rose. In a modern room, consider wall washers or a track system rather than a grid of downlights. Put sockets where lamps will actually go, and consider a 5-amp circuit for the main lamps. Dim the main circuit and use a picture light or wall light for accent.
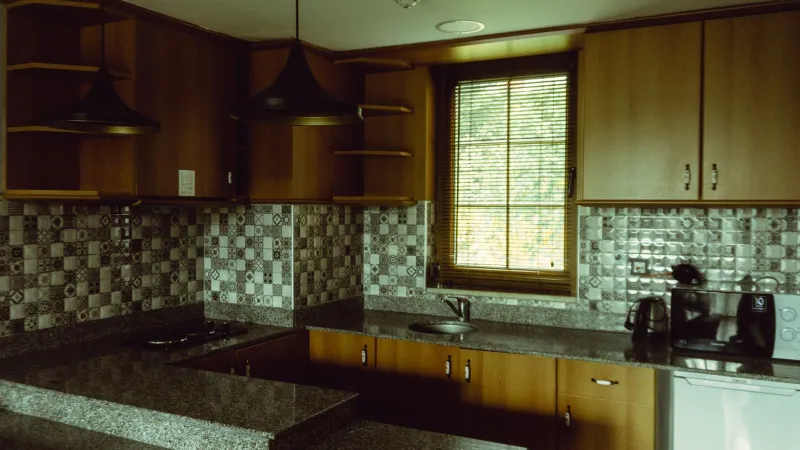
In a kitchen, layer properly. Ceiling lighting for general movement, under-cabinet lighting for worktops, pendants or a linear fitting over an island, and maybe accent lighting inside glass cabinets or over a hob. Avoid downlights directly behind your standing position at the worktop; they cast shadows exactly where you need light. Dimmers on the main circuit make a huge difference when you are cooking at night or having a quiet breakfast.
In a bedroom, think about wind-down. A central pendant is often too much. Plan bedside reading lights, a dimmable ambient circuit, and a light in the wardrobe. Two-way switching is worth the extra cable so you can turn off the main light from the door and from the bed. If you like to read, make sure the bedside light is actually aimed at the page, not just decorative.
In a bathroom, safety comes first. Check IP ratings for each zone, and use a qualified electrician. Plan a mirror light for shaving or makeup, a warm ceiling light, and perhaps a low-level night light for the 3am trip. A pull cord or a switch outside the room is often the simplest solution.
In a hallway or on the stairs, plan two-way or three-way switching so you are not walking into darkness. Wall lights at stair level can be beautiful and practical. A pendant may be enough in a small hall, but a taller space often benefits from a longer drop or a run of wall lights.
Period homes and modern extensions
In a period property, work with the architecture. Ceiling roses, cornices and picture rails are clues. Wall lights, picture lights and floor lamps often suit these rooms better than a ceiling full of downlights. Plan cable routes carefully to avoid surface trunking on lovely old walls.
In a modern extension, you have more freedom and more temptation. A grid of recessed downlights is easy to specify and easy to regret. Consider plaster-in profiles, track lighting, wall washers and pendants over key areas. If the extension has a lot of glazing, remember that it will be bright in the day and dark at night; the lighting plan needs to work in both modes.
The pre-plaster checklist
Before the boards go up, confirm the furniture layout, switch heights, socket positions, dimmer locations, 5-amp circuits, outdoor lighting, smoke alarms and any data or speaker cables. Photograph the walls with a tape measure in shot. Keep a simple wiring schedule. Test your dimmers with the actual lamps before the electrician disappears.
Lighting is not the icing on the renovation cake. It is the bones of how the house feels. An hour with your electrician and a floor plan is cheaper than a second fix you did not plan for.